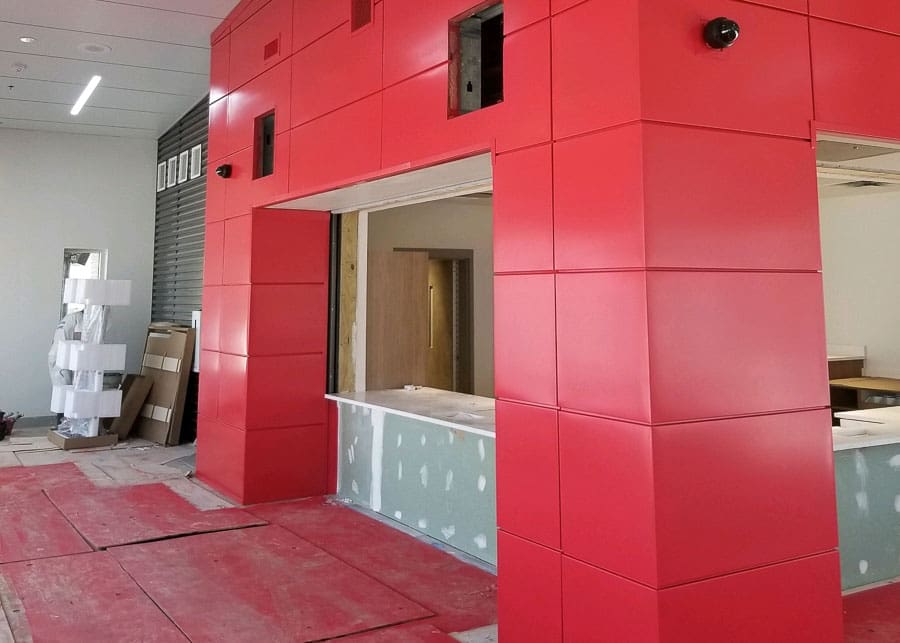
Does paint make the wall?When we consider painting drywall in commercial settings, many are critical of how the finished product looks. Even once painted, there can be visible or palpable wall surface imperfections. In many cases the blame is cast toward painting contractor, which is often incorrect. Today’s drywall is usually recycled or imported and a 4’ by 8’ sheet can have different levels of porosity across the board. Drywall viewed under a microscope is very rough and imperfect. When installed, taped and mudded, you have different levels of porosity among the paper and joint compound. If the installer hits the face paper when sanding the tape joints, little paper hairs (fuzz) may stick up, become visible to the eye and even felt by hand.
At times, we see an optical illusion caused by light angled across the board surface, which makes the final paint finish look shaded or lacking in paint or sheen level. Since most commercial drywall is smooth finished without an applied texture, surface imperfections may be highlighted. Porous drywall can suck the sheen out of the paint and potentially leave holidays, “flashing” or flat areas when a sheen like eggshell, satin or semi-glossis applied. There seems to be a trend today for architects and specifiers to mostly specify a Level Four (4) finish under an outdated assumption that the final product is the responsibility of the paint professional to make acceptable.
A Level Five (5) finish includes a skim coat of joint compound or texture over the entire wall surface. When a painting contractor is responsible for level 5 finish, it requires the acceptance of the wallboard installation before any primer is applied making it somewhat difficult to see imperfections. In addition, the total wall paint film is usually about three (3) mils (0.003 inch) DFT (dry film thickness). In comparison, the human skin is only seven (7) mils DFT. Any rework or patching on the wall will likely show especially if the patchwork is not primed and spot finished prior to applying the final paint coat.
Quality acrylic primer is an important consideration to professionally finished new surfaces. Many primers used by drywall or painting contractors are low-cost, calcium carbonate or clay based primers with little or no acrylic resin, which performs better at leveling the different degrees of porosity between the face paper and taped joints. On new wall surfaces, primer is a critical component to creating an eye-pleasing and finished system with an excellent service life. The low-cost primers make the surface look prepared, but may remain porous or unevenly porous.
There are better, resin-rich primer/sealers that all manufacturers recommend, although not all industry professionals may see the need or are willing to pay more for the long term value. If a low cost primer is applied and the first coat of finish has a sheen the gloss level may disappear into the primer where there are higher levels of porosity. Those areas will look flatter and may be more easily viewed at a low angle to the wall. The first finish coat in reality becomes the primer/sealer. Now, it may take two more coats to get to 3 mils DFT and/or achieve the sheen level specified.
Also, uneven porosity or inconsistent sheen makes it extremely difficult to apply any touch-up material in the repair of latent damage from trade or move in activities. The Painting and Decorating Contractors of America (PDCA) have published standards that detail touch-up responsibility and how to visually evaluate a finished wall surface as well as what constitutes a touch up for a finished wall.
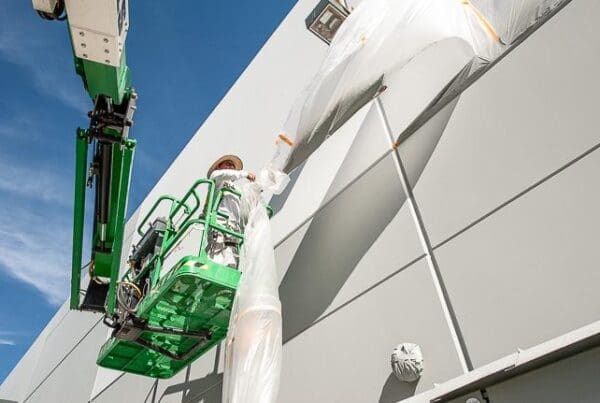
In addition, to the best practice of applying quality primer to wallboard, professionals should consider back rolling each coat of material (primer and paint) immediately as it is sprayed.
1. Back rolling evens out the spray pattern across the wall surface as it is not always performed correctly via spray alone application. This may be due to inconsistent spray overlap (each spray pattern pass should be 50% overlapped). In addition, uneven spray application occurs as spray tips wear, which changes the pattern and volume of material applied. Back rolling improves the application of primers and finish products, while helping correct inferior or uneven spraying.
2. Back rolling forces the material into the substrate to maximize the paint or primers ability to seal or coat the surface making it easier to achieve the desired final millage. Back rolling application leaves slight stippled pattern on a smooth surface that will help hide any tiny (very small) surface imperfections. This helps allow for the finish to be touched up more easily by rolling versus a spray only application. Back rolling often eliminates porosity and sheen issues.
The open bid process could be improved to require that back rolling be part of project specifications. For the most part, application methods are usually left up to the painting contractor. If more painting professionals adopted the best practice of quality primer and back rolling, the finished wall surfaces may stand up to more abuse during the final construction process potentially reducing touch up issues. In any event, the use of a quality primer and back rolling spray application not only looks better, it provides the owner and maintenance team with a more manageable wall surface to work with in the future.
Given the quality of the drywall installation, the Level of joint compound finish, the primer and paint material specification and the application method, you can see that an excellent looking wall starts before the painting contractor begins paint application.
Original content modified from Perry White, CSI, CCPR Source: http://www.letsfixconstruction.com/


